Apple Pay
Introduction
If your payment page is located on the payment gateway side, Apple Pay payments will work without any additional actions from your side because you are automatically registered in Apple with the default domain of the payment gateway.
However, if you want to use your own payment page located on your domain, you must register your domain in Apple and receive all the necessary certificates for your domain before accepting payments via Apple Pay. To do this, follow the steps described in the sections below.
Create Merchant ID
To create your Merchant ID, follow these steps.
- In the personal area of the Apple Member Center, go to Certificates, Identifiers & Profiles.
- In the Identifiers section select Merchant IDs.
- On the resulting page click + (Add) in the right upper corner.
- In the Merchant ID Description and Identifier fields enter a description of your Apple merchant identifier and the identifier itself accordingly.
- Click Continue.
- On the resulting page check the data you entered and click Register.
- On the resulting page click Done.
Certificate registration
To receive payments via Apple Pay, you need to have a key pair (private and public key) and the corresponding public key certificate. The required actions in the Personal Area depend on whether you already have a key pair and the corresponding certificate or not.
| Initial conditions | Required steps |
|---|---|
| You do not have a key pair and the public key certificate |
After that the following actions will become available. |
| You have a key pair and your public key certificate is registered at Apple Pay |
Upload the file containing your key pair After that the following actions will become available. |
Create new certificate
To create a key pair, follow these steps.
- Log in to your personal cabinet and click
 in the left panel (Wallet certificates section).
 - Go to Apple Pay tab.
- Click Create key pair.
The following form will display.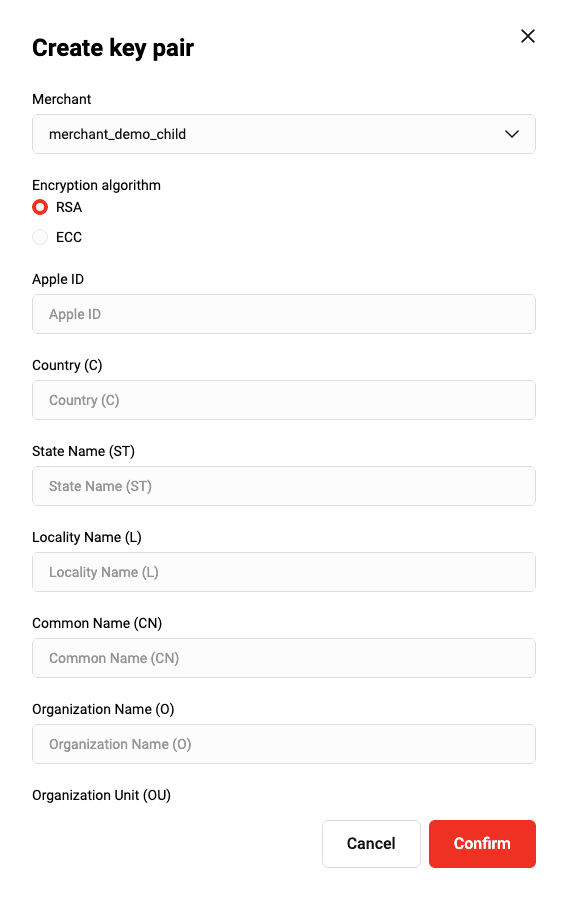
- Fill in the required fields (see the table below).
| Setting | Description |
|---|---|
Encryption algorithm |
This radio button allows to select one of the two cryptographic algorithms that will be used for key pair generation.
|
Country (C) |
Enter two-letter code of the country where your organization is located. |
Locality Name (L) |
Enter the name of the locality where your organization is located. |
Organization Name (O) |
Enter the name of your organization. |
Apple ID |
Merchant Apple ID. |
State Name (ST) |
Enter state name where your organization is located. |
Common Name (CN) |
Enter the domain name of your site, for example, test.com. |
Organization Unit (OU) |
Enter the name of your organization unit. |
- After making the necessary changes click Confirm.
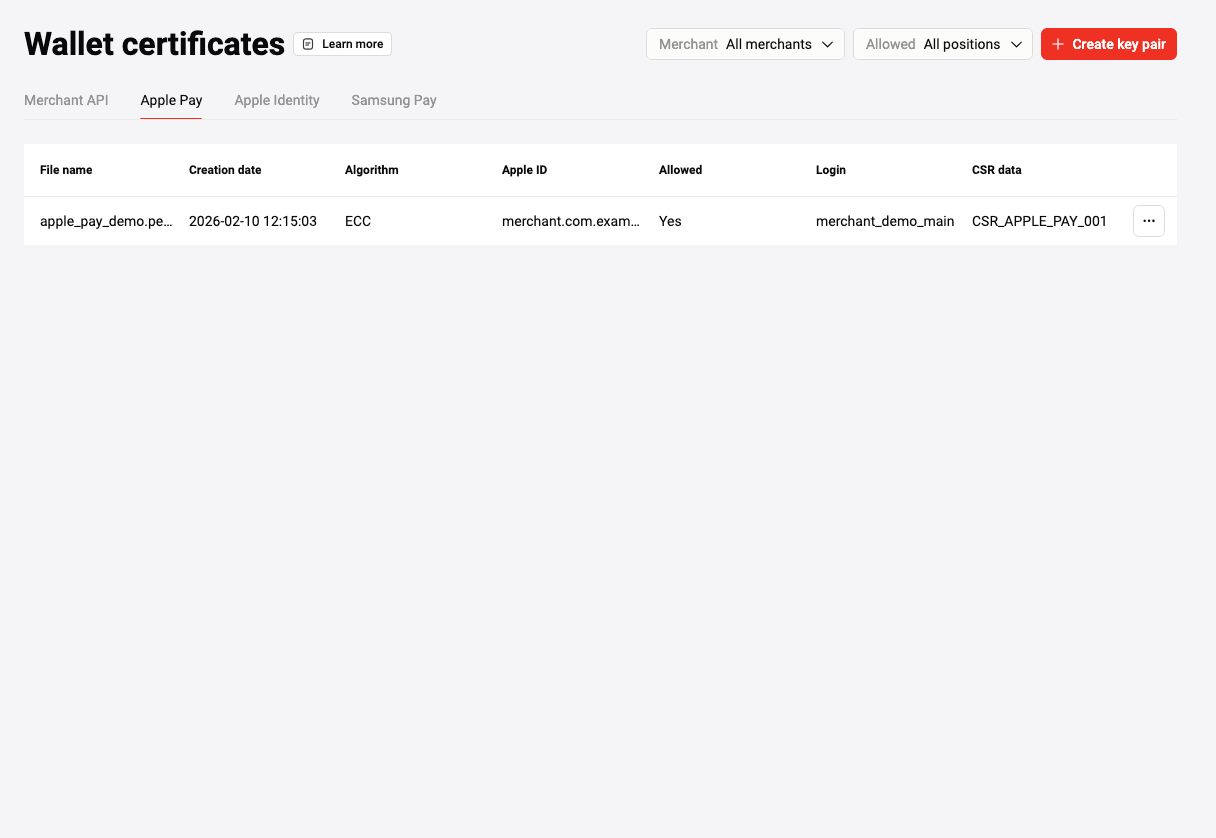
The created key pair will be displayed in the Apple Pay tab (see the figure below).
Proceed to CSR download
Upload previously created certificate
To upload an existing key pair, follow these steps.
- Log in to your personal cabinet and click in the left panel (Certificates section).
- Go to Apple Identity tab.
- Click Add key.
The following form will be displayed.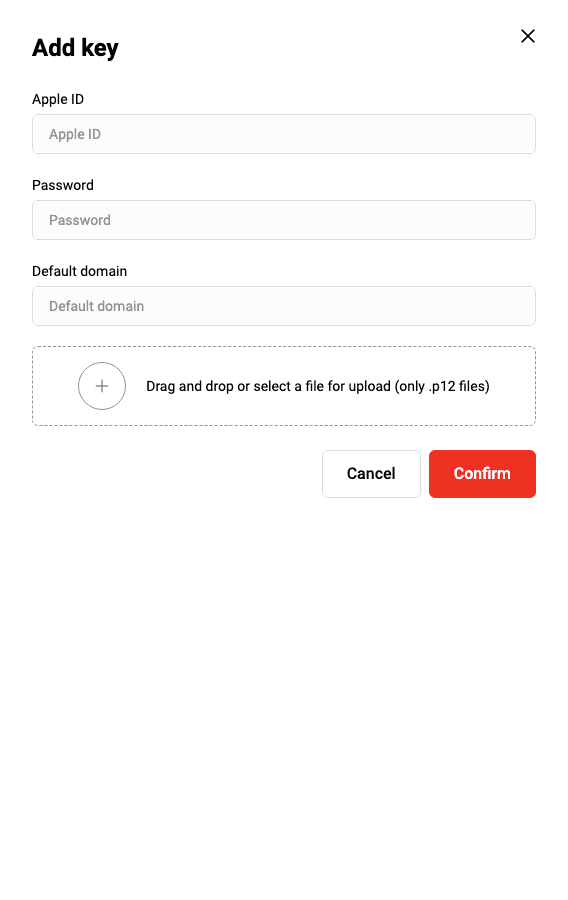
- Fill in the following fields.
- Apple ID - enter your Merchant Apple ID.
- Password - enter the password for your PKCS12 file.
- Default domain - enter the domain of your online store.
- Drag your key pair file to the designated area on the page.
It will be displayed below.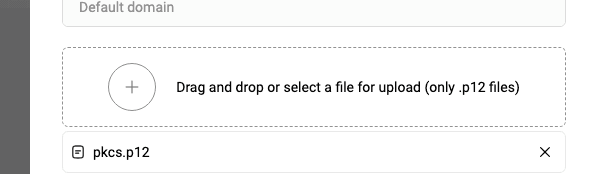
- Click Create. The uploaded key pair will be displayed in the Apple Identity section.
After uploading your key pair the following actions will become available.
Export CSR
To download CSR, follow these steps.
- Log in to your Personal Area and click in the left panel (Certificates section).
- Select the required payment service (Apple Pay, Google Pay, or Samsung Pay).
- Click
 next to your certificate and select Download key (see the figure below).
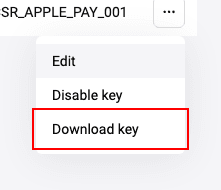
Save file dialog will display. - Specify the path to which the file will be saved or save it to the default folder.
Also, the following actions are available.
Edit Merchant ID
To edit your Apple Merchant ID, follow these steps.
- Log in to your Personal Area and click in the left panel (Certificates section).
- Select Apple Pay.
- Click and select Edit. (see the figure below).
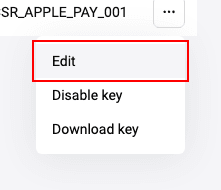
The following form will be displayed.
- Edit Apple ID field and click Confirm.
Disable certificate
To disable a certificate (key), follow these steps.
- Log in to your Personal Area and click in the left panel (Certificates section).
- Select the required payment service (Apple Pay, Google Pay, or Samsung Pay).
- Click next to your certificate and select Disable key (see the figure below).
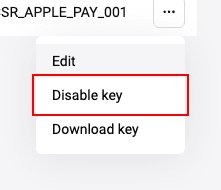
The following dialog will display.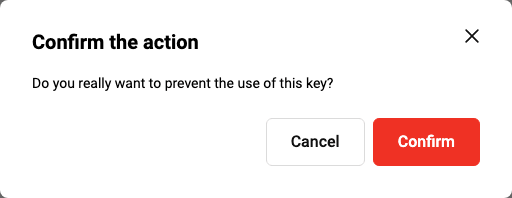
- Click Confirm.
Whether a disabled certificate is displayed in the personal area depends on Allowed setting that is at the top of the Certificates section (see the figure below).

| Setting | Description |
|---|---|
| Only allowed | Disabled certificates are not displayed in the keys list. |
| All positions | Disabled certificates are displayed in the keys list. Allowed cell will have No value (see the figure below).
|
Actions necessary for web integration
For Web integration, follow these steps.
- Register and confirm your domain in Apple.
- Create a merchant identification certificate, convert it to a .pem file, and upload it to your server.
This certificate is used to authenticate connections to Apple Pay servers.
Registration of a domain in Apple
To register a certificate in Apple, follow these steps.
- Log in to your Apple developer account at https://developer.apple.com.
- Follow Apple developer account help instructions to register a domain.
Select the previously created merchant ID when prompted.
Integration scheme
- The user in the mobile application selects the payment option using Apple Pay.
- The payment data is sent to the Apple Pay system for processing.
- To process the payment data an object PKPaymentToken Object, which has paymentData attribute, is created in the Apple Pay system (here and further see Apple Pay documentation).
- Apple Pay sends a response to the merchant (mobile application).
- The merchant exctracts paymentData attribute out of received PKPaymentToken Object object and encodes its contents in Base64.
- The merchant creates a payment request containing paymentDataattribute, which is received from the Apple Pay response and encoded in Base64, and sends it to the payment gateway for processing (see Request for payment via Apple Pay).
- The payment system processes the request.
- The payment system returns a response with the result.
- The mobile application displays the payment result to the user.
Reference links
| Link | Description |
|---|---|
| Apple Pay | A section of the apple.com site containing general information on Apple Pay. |
| Developer Apple Pay | A section of the apple.com site dedicated to developers and containing links and reference information concerning Apple Pay. |
| Apple Pay Sandbox | A section of the apple.com site containing information on testing. |
| Apple Pay Guide | A section of the apple.com site containing a programming reference. |
| Apple Pay Guidelines | A section of the App Store reference dedicated to Apple Pay. |
| Apple Pay API | API reference (application programming interface). |
| PKPaymentToken Object structure | Description of the PKPaymentToken Object structure. |
| Login page | The development environment login page. |
| Getting Started with Apple Pay | PDF document containing general information on Apple Pay and reference links. |
| Apple Pay Marketing Guidelines | Description of how to add the Apple Pay button on your website. |
Samsung Pay
General information
Before accepting payments via Samsung Pay, follow these steps.
- Create an account at https://account.samsung.com.
- Using the created account, register at https://pay.samsung.com/developers.
- At https://pay.samsung.com/developers create Service and select BPC as your Payment Gateway.
- Proceed to the actions in the Personal Area of the payment gateway:
Create key pair
To create a key pair, follow these steps.
- Log in to your Personal Area and click in the left panel (Certificates section).
- Go to Samsung Pay tab.
- Click Create key pair.
The following form will be displayed.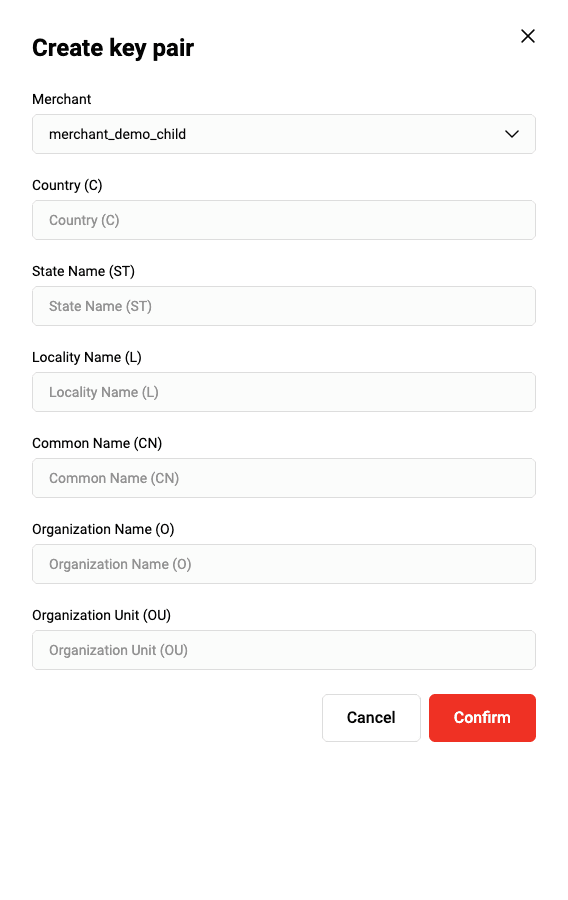
- Fill in the fields (see the table below).
| Field | Description |
|---|---|
Country (C) |
Enter two-letter code of the country where your organization is located. |
State Name (ST) |
Enter state name where your organization is located. |
Locality Name (L) |
Enter the name of the locality where your organization is located. |
Common Name (CN) |
Enter the domain name of your site, for example, test.com. |
Organization Name (O) |
Enter the name of your organization. |
Organization Unit (OU) |
Enter the name of your organization unit. |
- After making the necessary changes click Create.
The created key pair will be displayed in the keys list (see the figure below).
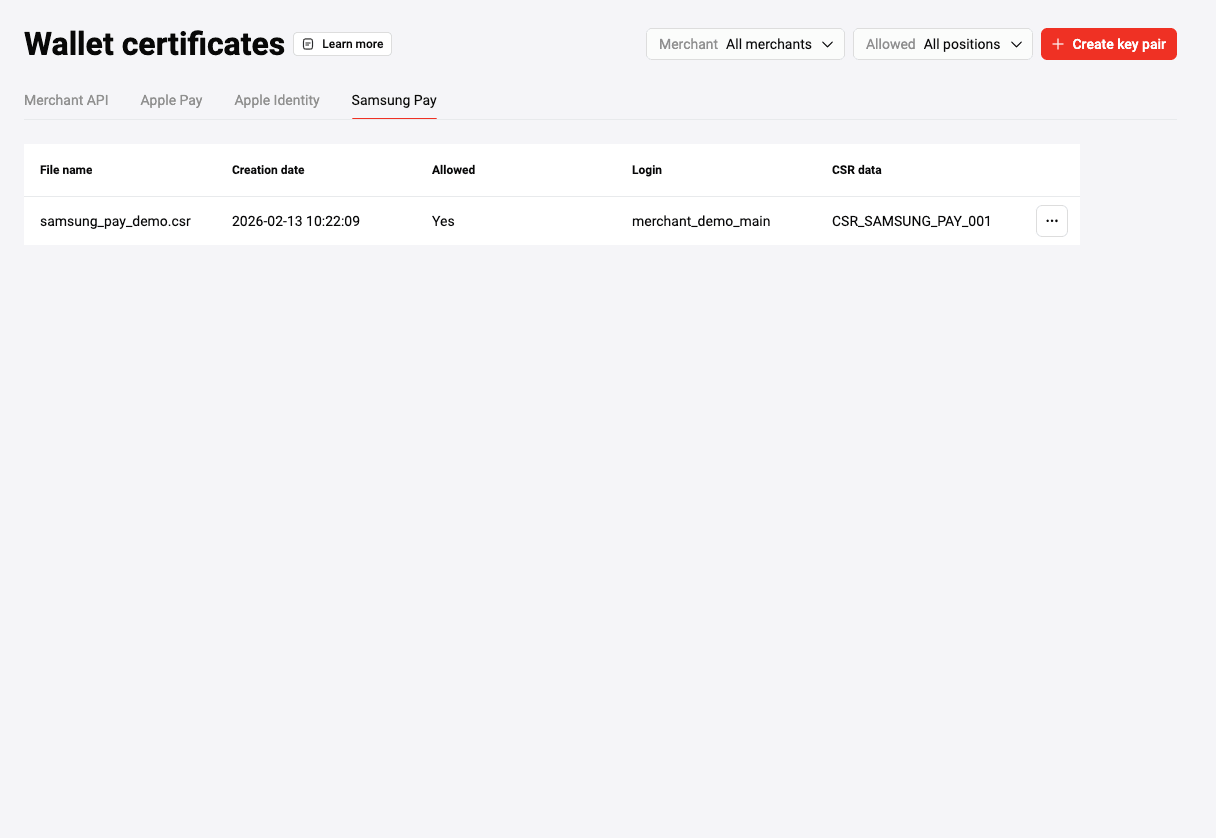
Proceed to CSR download.
Export CSR
To download CSR, follow these steps.
- Log in to your Personal Area and click in the left panel (Certificates section).
- Select the required payment service (Apple Pay, Google Pay, or Samsung Pay).
- Click next to your certificate and select Download key (see the figure below).
Save file dialog will display. - Specify the path to which the file will be saved or save it to the default folder.
Now you can register your certificate by uploading the CSR to Samsung Pay.
Also, you can disable your certificate.
Complete registration
In your profile at https://pay.samsung.com/developers upload the certificate signing request as Merchant CSR (merchant certificate signing request).
Disable certificate
To disable a certificate (key), follow these steps.
- Log in to your Personal Area and click in the left panel (Certificates section).
- Select the required payment service (Apple Pay, Google Pay, or Samsung Pay).
- Click next to your certificate and select Disable key (see the figure below).
The following dialog will display.
- Click Confirm.
Whether a disabled certificate is displayed in the personal area depends on Allowed setting that is at the top of the Certificates section (see the figure below).
| Setting | Description |
|---|---|
| Only allowed | Disabled certificates are not displayed in the keys list. |
| All positions | Disabled certificates are displayed in the keys list. Allowed cell will have No value (see the figure below).
|
Integration schemes
- Integration scheme for payment from a mobile application
- Integration scheme for payment from a web page (payment form on the payment gateway side)
- Integration scheme for payment from a web page (payment form on the merchant's side)
Payment from a mobile application
- A Customer selects Samsung Pay as a payment method.
- The application sends payment details to Samsung.
- Samsung checks the application.
- Samsung sends a response to the application containing, among other things, the
3ds.dataparameter with the encrypted data about the payment. - The merchant sends a payment request to the payment gateway. The contents of
3ds.datareceived from Samsung is included in thepaymentTokenparameter. - The payment gateway decrypts the contents of
paymentTokenand makes the payment. - The payment gateway sends the payment result to the application.
- The application displays the result to the customer.
Payment from a Web page on the payment gateway side
- A customer creates an order and starts the payment procedure.
- The merchant sends an order registration to the payment gateway:
- The merchant sends a payment request to the payment gateway.
- The customer selects to pay via Samsung Pay.
- The payment gateway communicates with Samsung Pay.
- The customer is redirected to the Samsung Pay page.
- The customer enters their login.
- The application on the customer's mobile device requests authentication data.
- The customer is authenticated on their device.
- The payment gateway exchanges payment data with Samsung Pay.
- The customer is redirected to the payment result page.
Payment from a Web page on the merchant's side
Payment from a a payment page on the merchant 's side.
- A customer creates an order on the merchant 's Website.
- The merchant sends an order registration request to the payment gateway.
- The payment gateway registers the order and returns the ID of the created.
- The store redirects the customer to the merchat's payment page.
- The customer's browser opens the merchant's payment page.
- The customer gets the payment form.
- The customer chooses to pay via Samsung Pay Web.
- The merchant sends a payment request via Samsung Pay to the payment gateway.
- The payment gateway communicates with Samsung Pay.
- The payment gateway sends a response to the payment request.
- The payment form redirects the customer to the Samsung Pay page. For this, the JavaScript scenario that calls the
connectfunction is used. This function must send the data from the response received from the payment request.
- A form for entering the ID is displayed to the customer.
- The customer enters their ID and confirms the link between their ID and device.
- Samsung Pay prompts customer authentication.
- Samsung Pay sends a notification to the customer's device, so they can select a payment card and confirm the payment.
- The customer confirms the payment.
- Samsung Pay communicates with the payment gateway.
- The payment gateway sends the payment result to the payment page.
- The payment page displays the result to the customer.